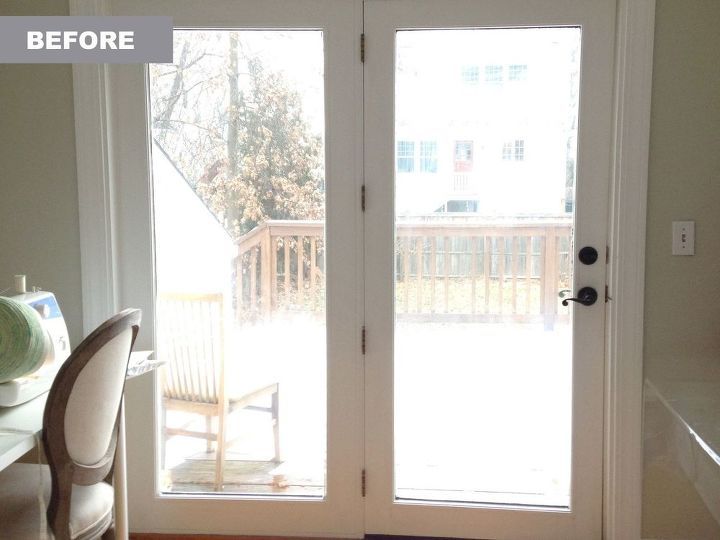
This is a ‘before’ shot of my french doors. Hello, backyard neighbors!

Step 1: Measure.
Take out your tape measure or ruler and measure the glass surface area that you will be covering.

Step 2: Cut out your shapes.
Once you have your dimensions, decide what shape or pattern you’d like to create for your frosted glass pieces. I decided to use a simple diamond shape, which is simple to cut and line-up accurately. For my window, I cut out several 6″ x 6″ squares. The contact adhesive paper is great, because on the backside there is a grid with measurements already laid out. I was able to cut my shapes out quickly by following their guidelines.

Step 3: Stick your pieces on.
After cleaning your window with glass cleaner, begin applying your contact paper pieces. I advise working from the bottom up if you are covering a large-scale door or window. Using a steady hand and a careful eye, peel off the backing of your contact paper and stick your pieces on one-by-one, lining them up as you go. For my design, I left approximately 1/2″ in between each row of diamonds.

After applying all of your pieces carefully, you should end up with a fully covered glass window. To cover these two large-scale doors, it took me approximately two hours total.
I’m so thrilled with the results! Not only do I now have privacy in my home office, but it also prevents birds from flying into my windows AND looks pretty classy too! Be sure to check out some other awesome DIY home decor projects to spruce up the decor in your home!
For Ingredients And Complete Cooking Instructions Please Head On Over To Next Page Or Open button (>) and don’t forget to SHARE with your Facebook friends