Storage Options
Store completed Loaded Brownie Cheesecake Cups covered in the refrigerator for up to 5 days. For longer storage, freeze individual cups for up to 3 months. Thaw frozen cups in the refrigerator overnight before serving. Add fresh toppings just before serving to maintain optimal texture and appearance.
Summary
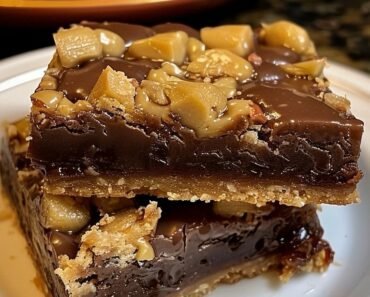
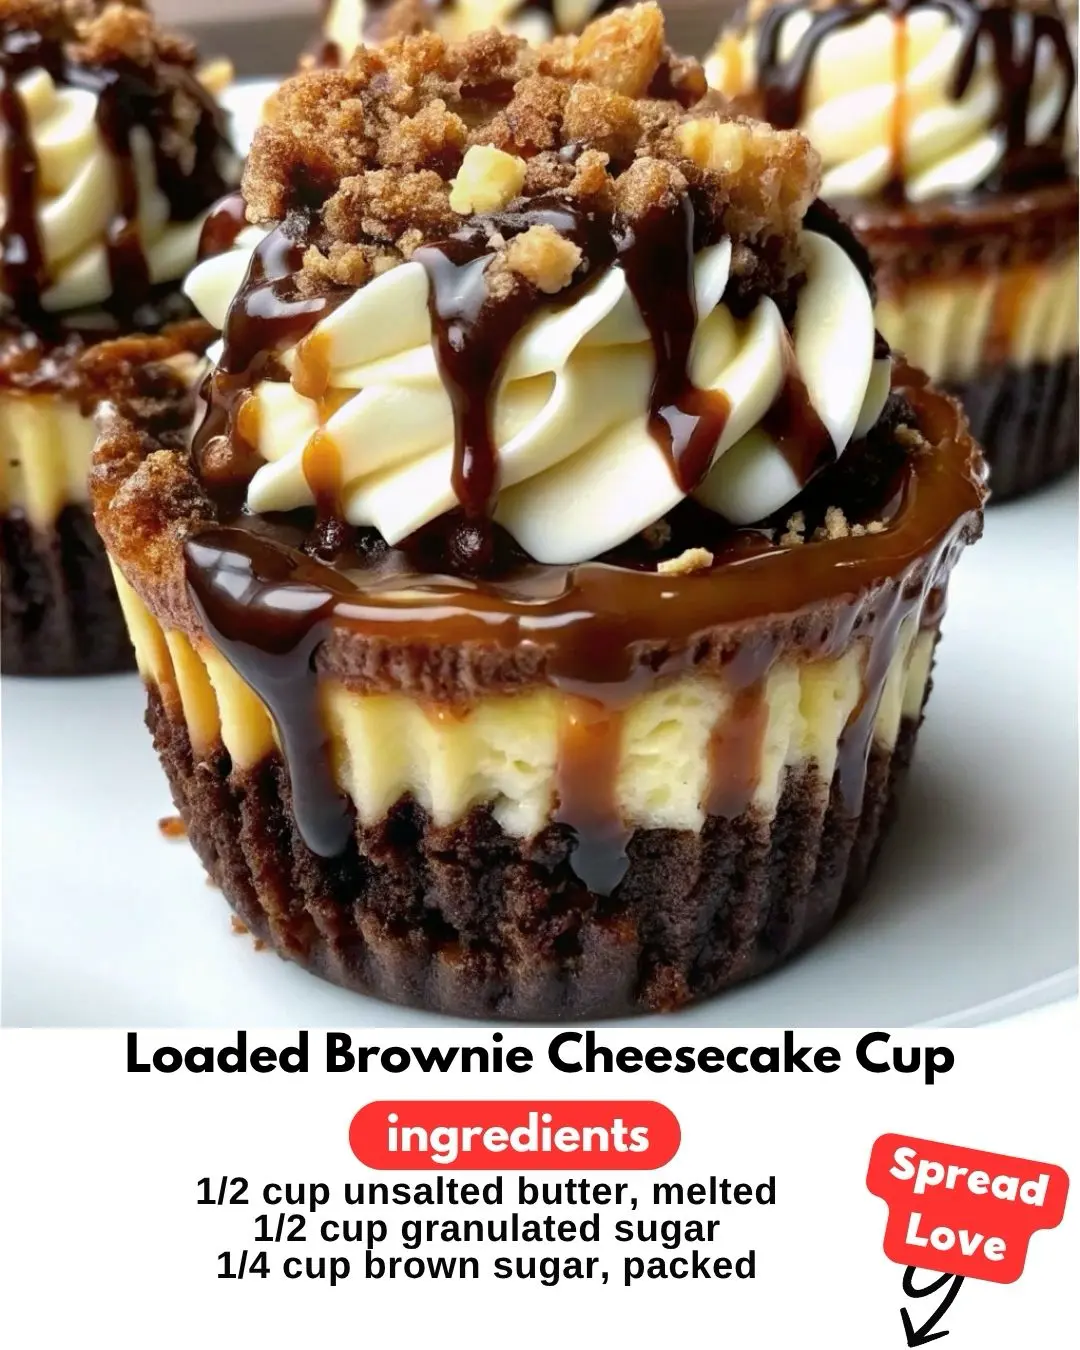
This Loaded Brownie Cheesecake Cup recipe combines fudgy brownies with creamy cheesecake in individual serving cups. The dessert features a brownie base, smooth cheesecake layer, and customizable toppings. Perfect for portion control and elegant presentation, these cups deliver restaurant-quality desserts at home.
Equipment
- 12-cup muffin tin
- Paper or silicone cupcake liners
- Electric mixer (hand or stand mixer)
- Large mixing bowls (2-3 bowls)
- Measuring cups and spoons
- Rubber spatula
- Wire cooling rack
- Offset spatula or spoon for spreading
Ingredients
For the Brownie Base:
- 1/2 cup unsalted butter, melted
- 1/2 cup granulated sugar
- 1/4 cup brown sugar, packed
- 1 large egg
- 1 teaspoon vanilla extract
- 1/3 cup all-purpose flour
- 1/4 cup unsweetened cocoa powder
- 1/4 teaspoon salt
- 1/3 cup mini chocolate chips
For the Cheesecake Layer:
- 8 oz cream cheese, softened
- 1/4 cup granulated sugar
- 1 large egg
- 2 tablespoons sour cream
- 1 teaspoon vanilla extract
- Pinch of salt
For the Toppings:
- 1/2 cup chocolate chips
- 1/4 cup caramel sauce
- 1/4 cup chopped nuts (pecans or walnuts)
- Fresh berries (optional)
- Whipped cream for serving
Instructions
- Prepare the oven and muffin tin: Preheat oven to 325°F (163°C). Line a 12-cup muffin tin with paper or silicone cupcake liners.
- Make the brownie batter: In a large bowl, whisk together melted butter, granulated sugar, and brown sugar until combined. Add egg and vanilla extract, mixing until smooth. In a separate bowl, whisk together flour, cocoa powder, and salt. Gradually fold dry ingredients into wet ingredients until just combined. Stir in mini chocolate chips.
- Prepare the cheesecake filling: In another bowl, beat softened cream cheese with an electric mixer until smooth and fluffy, about 2-3 minutes. Add sugar and beat until combined. Mix in egg, sour cream, vanilla extract, and salt until smooth and creamy.
- Assemble the cups: Divide brownie batter evenly among prepared muffin cups, filling each about 1/3 full. Gently spread batter to cover the bottom. Spoon cheesecake mixture over brownie layer, filling cups about 2/3 full.
- Bake the cups: Bake for 18-22 minutes, or until cheesecake layer is set and lightly golden around edges. The centers should still have a slight jiggle. Avoid overbaking to prevent cracking.
- Cool completely: Remove from oven and cool in the pan for 10 minutes, then transfer to a wire rack to cool completely. Refrigerate for at least 2 hours or overnight for best texture.
- Add toppings: Before serving, top each cup with chocolate chips, a drizzle of caramel sauce, chopped nuts, and fresh berries if desired. Serve with whipped cream on the side.
Notes
- Ensure cream cheese is fully softened for smooth cheesecake filling
- Don’t overmix the brownie batter to avoid tough brownies
- Baking time may vary depending on your oven; check for doneness by gently shaking the pan
- Cups will continue to set as they cool
- For clean removal, run a knife around edges before removing from liners
Tips for Success
Temperature control: Use room temperature ingredients for the cheesecake layer to ensure smooth mixing and even baking. Cold ingredients can result in lumpy filling or uneven texture.
Proper layering: Spread the brownie batter evenly in each cup before adding the cheesecake layer. This ensures consistent baking and prevents the layers from mixing together.
Avoid overbaking: Watch for the cheesecake layer to be set but still slightly jiggly in the center. Overbaking will cause cracking and a dense texture.
Cooling process: Allow cups to cool gradually to prevent sudden temperature changes that can cause cracking. Cool at room temperature first, then refrigerate.
Additional Tips and Variations
Flavor variations: Add different extracts to the cheesecake layer such as almond, lemon, or orange zest for unique flavor profiles. You can also swirl in fruit preserves or peanut butter for variety.
Topping creativity: Experiment with different toppings like crushed cookies, candy pieces, toasted coconut, or different types of chocolate. Consider seasonal variations with pumpkin spice or peppermint flavors.
Make-ahead option: These cups can be made 1-2 days in advance without toppings. Store covered in the refrigerator and add toppings just before serving for optimal presentation.
Size adjustments: Use mini muffin tins for bite-sized portions perfect for parties, or make in regular ramekins for larger individual servings.
Frequently Asked Questions (FAQ)
Q: Can I make these without a muffin tin? A: Yes, you can use individual ramekins or small mason jars. Adjust baking time accordingly, checking for doneness with the jiggle test.
Q: Why did my cheesecake layer crack? A: Cracking usually occurs from overbaking or rapid temperature changes. Bake until just set and cool gradually to prevent cracking.
Q: Can I freeze these cups? A: Yes, freeze without toppings for up to 3 months. Thaw overnight in the refrigerator and add fresh toppings before serving.
Q: How do I know when they’re done baking? A: The cheesecake layer should be set around the edges with a slight jiggle in the center. A toothpick inserted into the brownie layer should come out with a few moist crumbs.
Q: Can I use low-fat cream cheese? A: Full-fat cream cheese provides the best texture and flavor. Low-fat versions may result in a less creamy consistency.
Conclusion
This Loaded Brownie Cheesecake Cup recipe delivers an extraordinary dessert experience that combines the beloved flavors of brownies and cheesecake in perfect harmony. Each individual cup provides the ideal balance of rich chocolate brownie base and creamy cheesecake topping, finished with your favorite indulgent additions. The beauty of these Loaded Brownie Cheesecake Cups lies not only in their incredible taste but also in their convenience and elegant presentation. Whether you’re entertaining guests or treating your family to something special, these cups offer restaurant-quality desserts with the comfort of homemade goodness. Master this recipe, and you’ll have a show-stopping dessert that’s guaranteed to impress and satisfy every sweet tooth at your table.
For Ingredients And Complete Cooking Instructions Please Head On Over To Next Page Or Open button (>) and don’t forget to SHARE with your Facebook friends