Supplies:
(As an Amazon Associate, I earn from qualifying purchases. But it doesn’t cost you anything extra and helps me keep up my site!)
- 1×3 boards (or whatever scrap wood fits) length a little shorter than the depth of your cabinet
- Drawer slides, mine came in a 2-pack
- Hooks, mine were part of a pack
- Measurement labels, mine came from Etsy
- A few screws
Step 1: First I cut my boards and sanded them so the front ends and edges wouldn’t be rough to the touch.
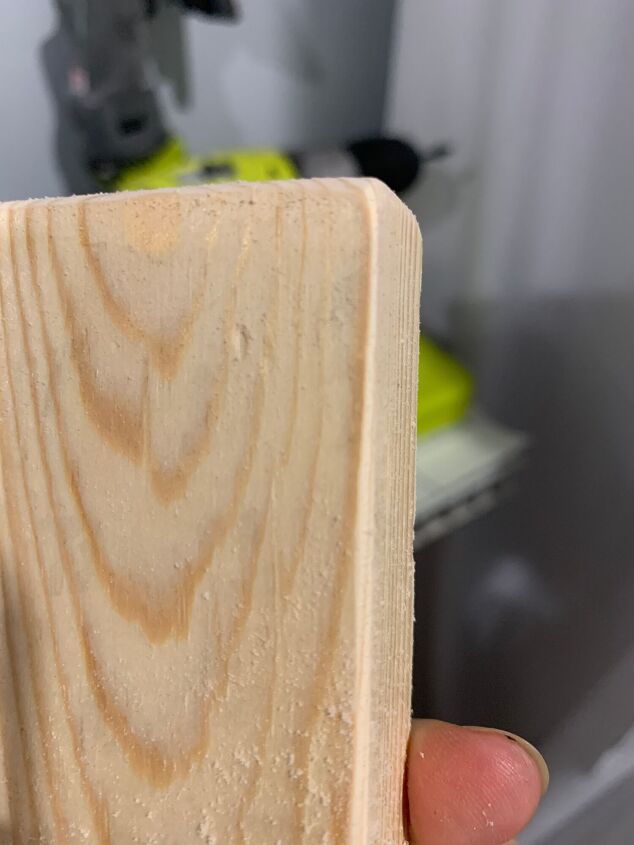
Sand those edges!
Step 2: Screw in hooks. I spaced mine pretty evenly along the board, but you can space them however you want. I was going to use different sizes for different spoons, but it ended up looking better to use all bigger hooks. Plus, the bigger hooks make it easier to hang everything quickly.
TRENDING VIDEOS
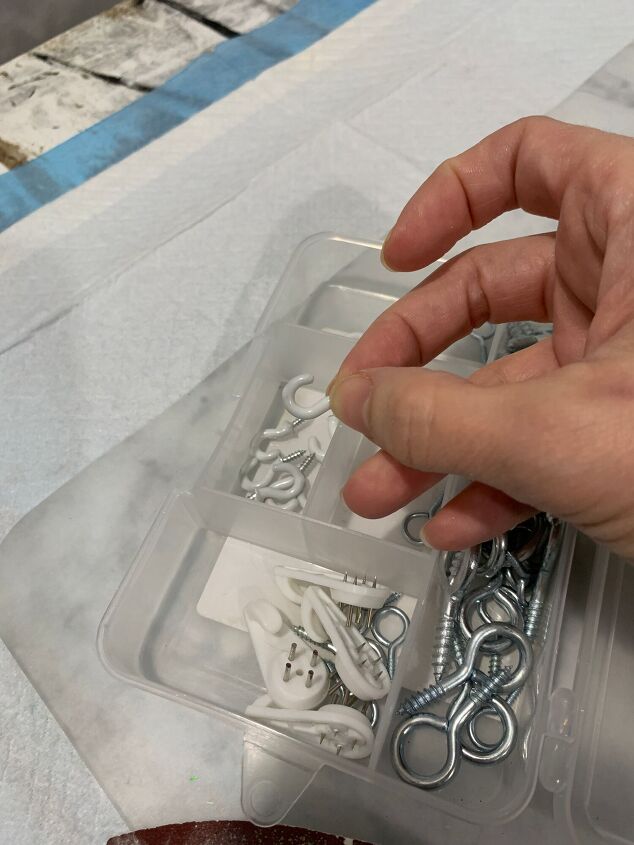
I was going to use these. Glad I went with the bigger hooks in this pack.
Step 3: Labels. I ordered mine off Etsy, but you could probably find labels anywhere or just write on the board with a marker, if you want. I had to doctor mine a bit to get the sizes I wanted. I also ripped one on my first attempt so chickened out with the rest and taped them on. But here’s the final result:
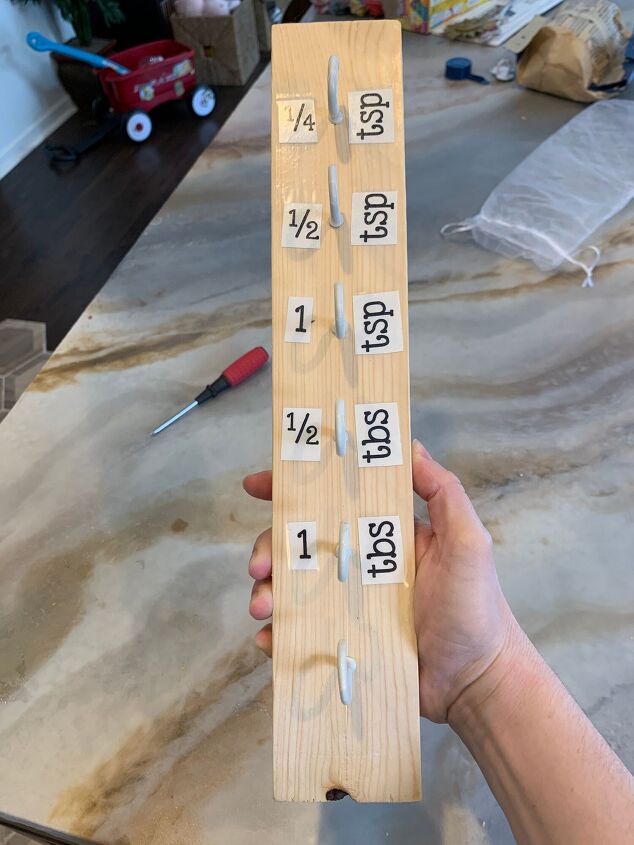
Hooks and labels attached!
Step 4: Installing the drawer slides. How to attach these might depend on the kind you get, but mine were easy to attach to the underside of my cabinet shelf with 2 screws. MAKE SURE your screws aren’t too long, or else they’ll pop through to the shelf above. Also make sure you attach the base of the slide, not the part that does the sliding.

Screw into top of cabinet or upper shelf.
Since I was doing all this in a corner cupboard, I positioned my slides at an angle so that they’d extend straight out from the open cupboard. If you’re doing this in a normal cupboard, just make sure everything is squared so the slides go out straight.
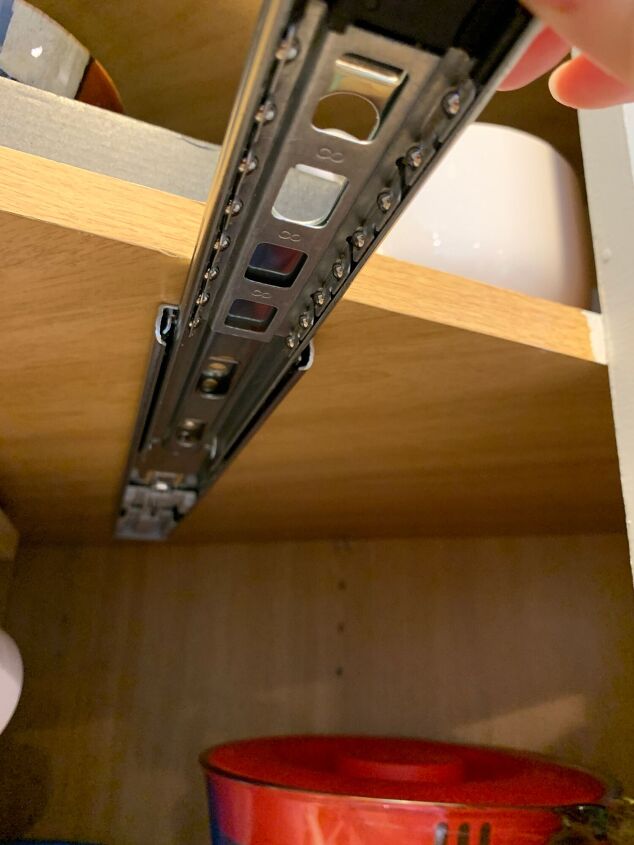
Slide straight out!
As for how deep into the cupboard to install the slides, make sure that the front end doesn’t extend farther than the shelf it’s attached to, or else it might stick out too far for the door to close. You might want to test by holding your board in place to see how far out everything should go. (I realized all of this later but got very lucky with how I’d installed the slides.)
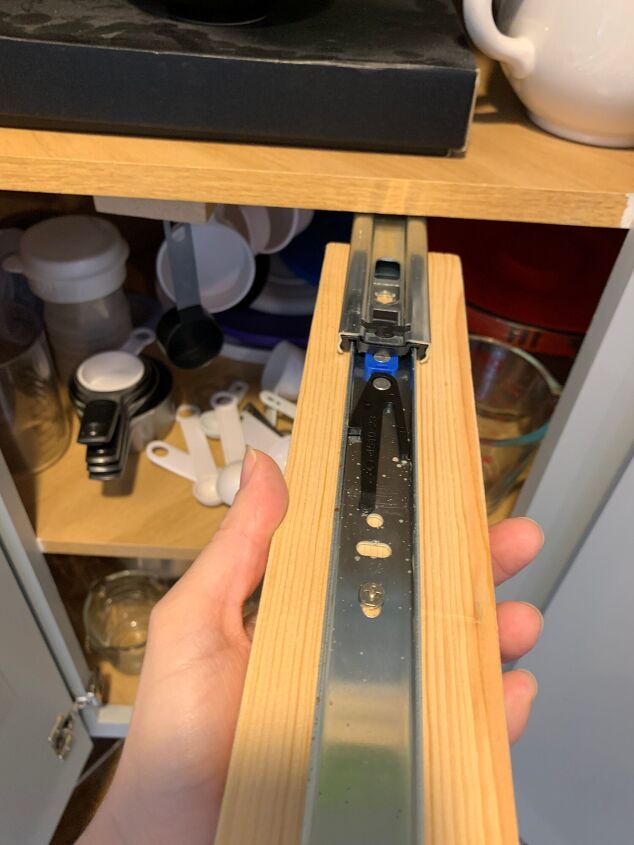
Step 3: Attach the wood. I suppose you could do this with the slide parts still together, but I took off the slide part by switching over the little flap thing (not technical name) to disconnect the two parts.
Then I flipped my board with the hooks and labels and attached the slide with 2 more screws. Make sure the slide is in the middle of your board – I eyeballed it, but you could measure and make a line to be sure. Also make sure which end is at the front and which end is the back.
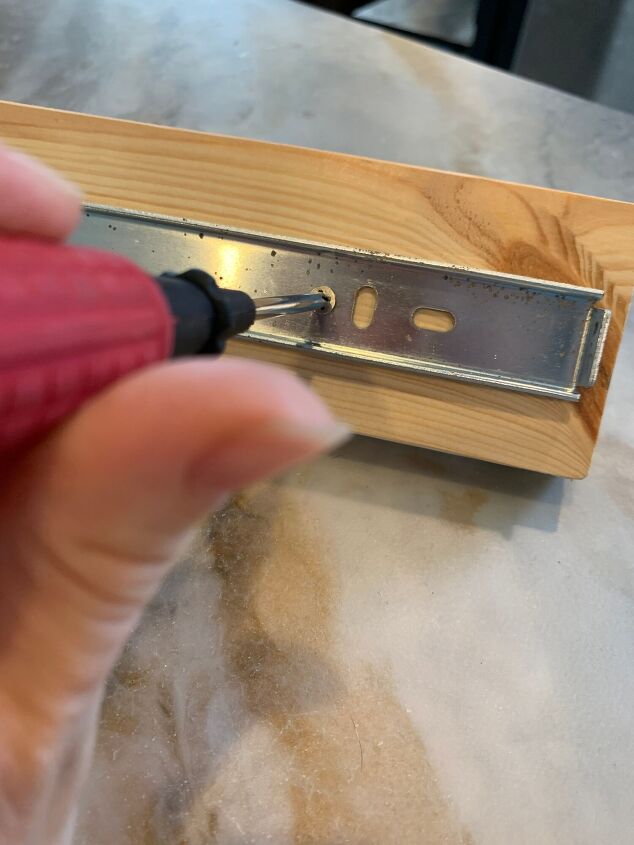
Screw on the slide.
Step 4: Connect the slide parts back together. Mine simply clicked back into place. (Again, if you’re nervous about disconnecting the slides, you could attach the wood with the slide part extended. But most slides I’ve used disconnect and reconnect just fine.) I did a few test runs, pushing and pulling them in and out, and everything held really well! Mine are soft-close slides, so that’s an added perk.
Reconnect the slide.
That’s it! Your organizers are installed! Now hang your cups and spoons on those empty hooks!
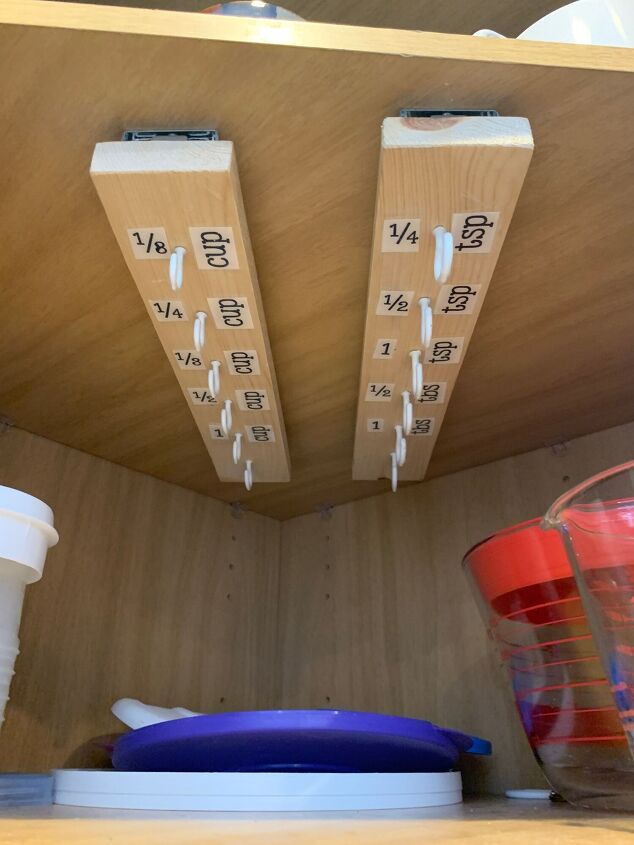
Installed!
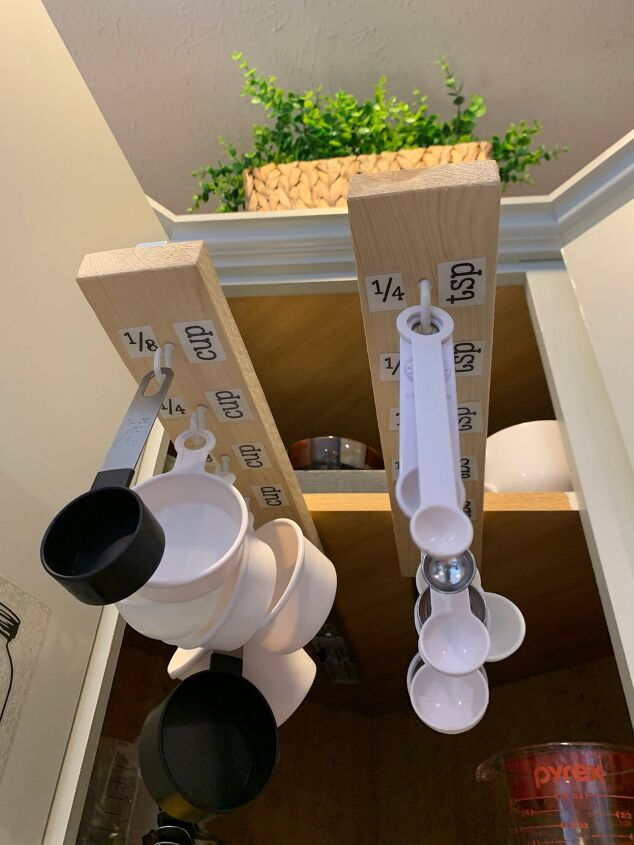
The “after.” Easy-to-reach measuring cup and spoon organizers!
No more rummaging. No more struggling to reach. I even put glass measuring cups in the space between where these slide in and out so that the shelving space below the hangers isn’t totally wasted. And some mixing bowls fit on either side. Now I can reach everything in the corner cabinet, and the hanging stuff in the deep part comes to me!

Who’s too short to reach now?!
For Ingredients And Complete Cooking Instructions Please Head On Over To Next Page Or Open button (>) and don’t forget to SHARE with your Facebook friends