If you have a Sharpie, a wall, and a love for shiplap- check out this tutorial!
This project is great for a wall that doesn’t get close attention or that people stand a few feet away from.
My laundry room/space (a closet in our bathroom) needed a makeover. My first idea was to try out some stick-on subway tiles on the whole back wall, but this $0 option was obviously the winner. After all, I’m the only one spending any time here!

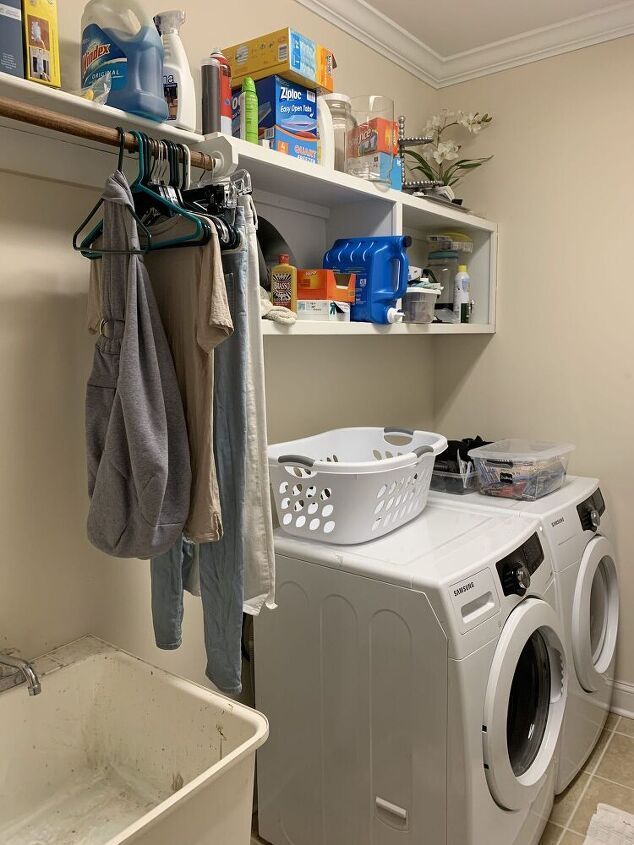
After Photo

Before PhotoHere is our laundry area “before” photo! Yikes… Good thing there are closet doors to cover this up! For this space makeover, I planned to:
- Put in shelves between the cupboards
- Spackle and paint
- Put handles on the cupboards
- Make some sort of cover for the laundry sink
- Add subway tiles or shiplap to the back wall
For Ingredients And Complete Cooking Instructions Please Head On Over To Next Page Or Open button (>) and don’t forget to SHARE with your Facebook friends